A DMARC generator is step zero, not protection
Marc's note on the part people miss after creating a DMARC record: reports, sender inventory, alignment work, and why a DNS string alone does not protect a domain.
Standards basis: Advice based on RFC 9989 for DMARC policy records, RFC 9990 for aggregate reports, and RFC 9991 for failure reports. Historical RFC 7489 behavior is called out only where relevant.
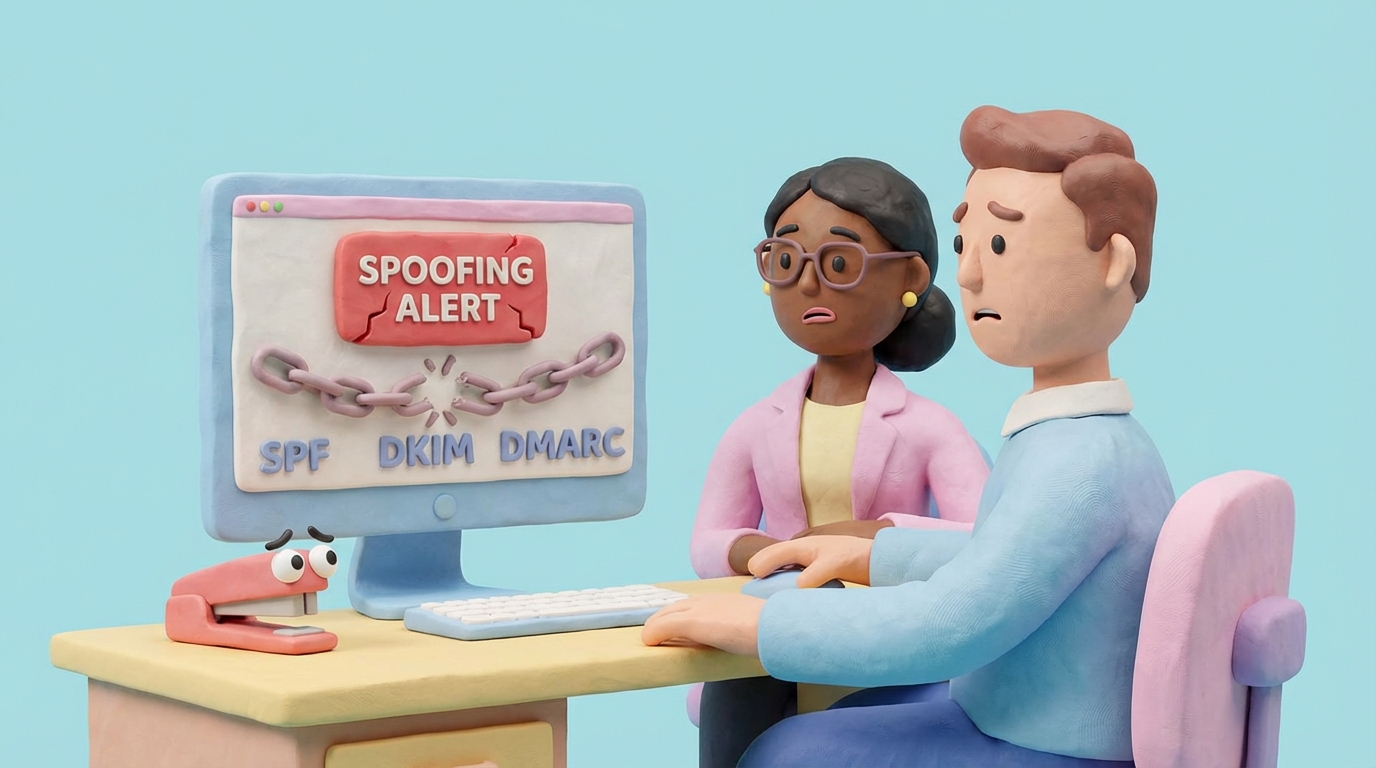
The first version of almost every DMARC conversation sounds the same:
“I need a DMARC record. What should I paste into DNS?”
That is a fair question. You do need a record. Syntax matters. A malformed _dmarc TXT record can leave you with no useful policy.
But the record is step zero.
It is not protection by itself. It is the switch that starts a feedback loop.
I am writing this because generator pages catch people at the point where stopping feels reasonable. They create a record, publish p=none, see a green check somewhere, and mentally file DMARC under “done.”
That is not done. That is where the work begins.
p=none is not a shield
p=none is useful. I recommend starting there for most domains.
But it does not ask receivers to quarantine or reject failing mail. It asks them to evaluate authentication and send reports. That is monitoring mode.
Monitoring mode is the safest place to begin because most domains have more senders than the owner remembers. The visible list usually includes Google Workspace or Microsoft 365, a marketing platform, a transactional email service, and maybe a helpdesk.
The real list is usually messier:
- an old CRM workflow
- a billing platform
- a WordPress contact form
- a recruitment tool
- an agency’s campaign system
- a SaaS trial someone forgot to shut down
If you jump straight to enforcement before seeing those sources, you can break legitimate mail. If you stay at p=none forever, spoofed mail is still only being reported.
The whole point of p=none is to collect evidence so you can leave it.
The reports are the product of the record
DMARC aggregate reports are not pleasant reading material.
They are XML files from receivers. They describe source IPs, message counts, SPF results, DKIM results, alignment, and policy disposition. They are useful in the same way server logs are useful: full of answers, unpleasant to read by hand.
This is why I think a generator without a monitoring path is incomplete. It helps you publish the address where reports should go, but it does not answer the questions that decide what happens next:
- Who is sending mail as this domain?
- Which sources pass DKIM alignment?
- Which sources pass SPF alignment?
- Which failures are legitimate configuration mistakes?
- Which failures look unauthorized?
- When is the domain safe to move from monitoring toward enforcement?
That is the job DMARCTrust was built for. We collect the reports, parse them, group sources, keep history, and turn the XML into decisions a domain owner can make without becoming an email forensics analyst.
Sender inventory comes before enforcement
The first useful artifact after publishing DMARC is not a stricter policy. It is a sender inventory.
For each source, you want to know:
- what service it belongs to
- why it is allowed to send
- which team owns it
- whether DKIM aligns
- whether SPF aligns
- whether it is still needed
Without that inventory, enforcement is guesswork. With it, the path gets much calmer.
You fix the legitimate sources. You remove the dead ones. You investigate the sources nobody recognizes. Then you start tightening the policy.
This is why I keep linking people to the sender inventory article. It is less exciting than a shiny DNS record, but it is the difference between “we published DMARC” and “we understand our mail.”
DKIM usually does more of the alignment work
One surprise for many teams is that SPF can pass and still not help DMARC.
SPF checks the Return-Path domain. DMARC compares authenticated domains to the visible From domain. When a third-party sender uses its own bounce domain, SPF can pass for the provider while failing alignment for your domain.
That is normal. It is why DKIM alignment ends up doing a lot of the work for SaaS senders.
After reports arrive, I stop asking only, “does SPF pass?” The better question is, “does either SPF or DKIM pass with alignment for the domain my recipients see?”
If the answer is yes, DMARC can pass. If the answer is no, your policy will eventually hurt that mail when you enforce.
This is the kind of thing a generator cannot know from a blank form. It only becomes visible after real mail flows and real receivers send reports.
The timeline is measured in reports, not minutes
Publishing the record can take minutes. Proving the domain is ready for enforcement takes longer.
The usual path is boring, which is good:
- Publish a monitoring record.
- Wait for aggregate reports to arrive.
- Build the sender inventory.
- Fix alignment for legitimate sources.
- Remove or investigate unknown sources.
- Move to
p=quarantinewhen reports are clean enough. - Keep monitoring because mail systems change.
The timing depends on mail volume and sender complexity. A simple transactional subdomain may become clear quickly. A human-mailbox domain with years of SaaS drift usually takes more care.
The important part is that the timeline follows evidence, not optimism.
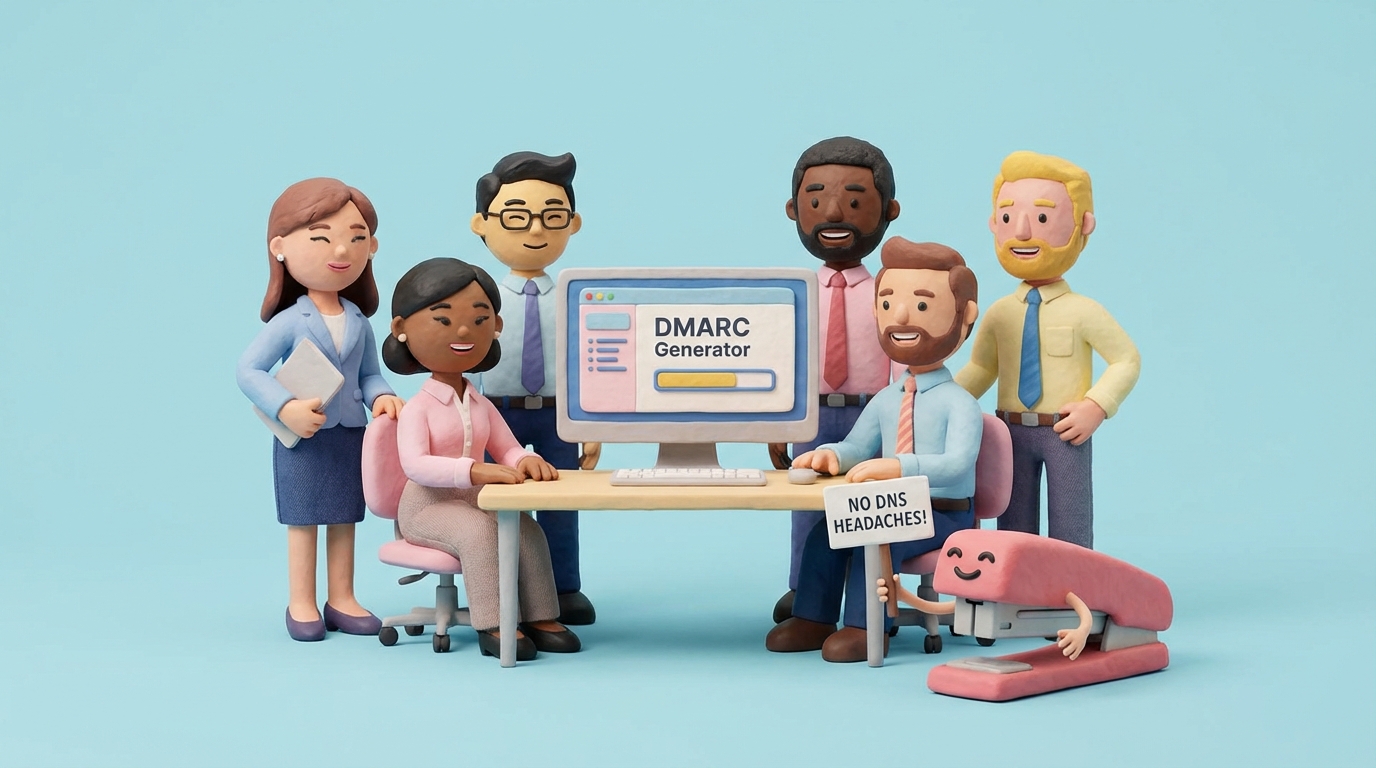
Why the generator still matters
I do not want this to sound like the generator is unimportant.
The generator matters because the first record sets the tone. A good starting record should be boring: valid syntax, aggregate reporting, a safe policy, relaxed alignment unless you have evidence for strict, and no historic rollout tags copied from old examples.
That is why the generator exists. It removes avoidable syntax errors and nudges people toward a record that starts the feedback loop safely.
But it cannot tell you whether your finance platform signs DKIM correctly. It cannot know that an agency still sends campaigns from a forgotten tool. It cannot decide whether a failure is hostile or just misconfigured.
Reports answer those questions.
The real finish line
The finish line is not “DNS contains a DMARC record.”
The finish line looks more like this:
- you know every legitimate sender
- each sender has an owner
- legitimate mail passes DMARC through SPF alignment, DKIM alignment, or both
- unauthorized sources are visible
- the policy reflects the domain’s risk and mail flow
- someone will notice when the picture changes
That is why I call the generator step zero. It starts the machine. It does not run the program.
If you have just published your first record, the next move is simple: check that DNS serves it correctly, then watch the reports. The first week of DMARC data will teach you more about your email estate than the DNS string ever could.
Marc